
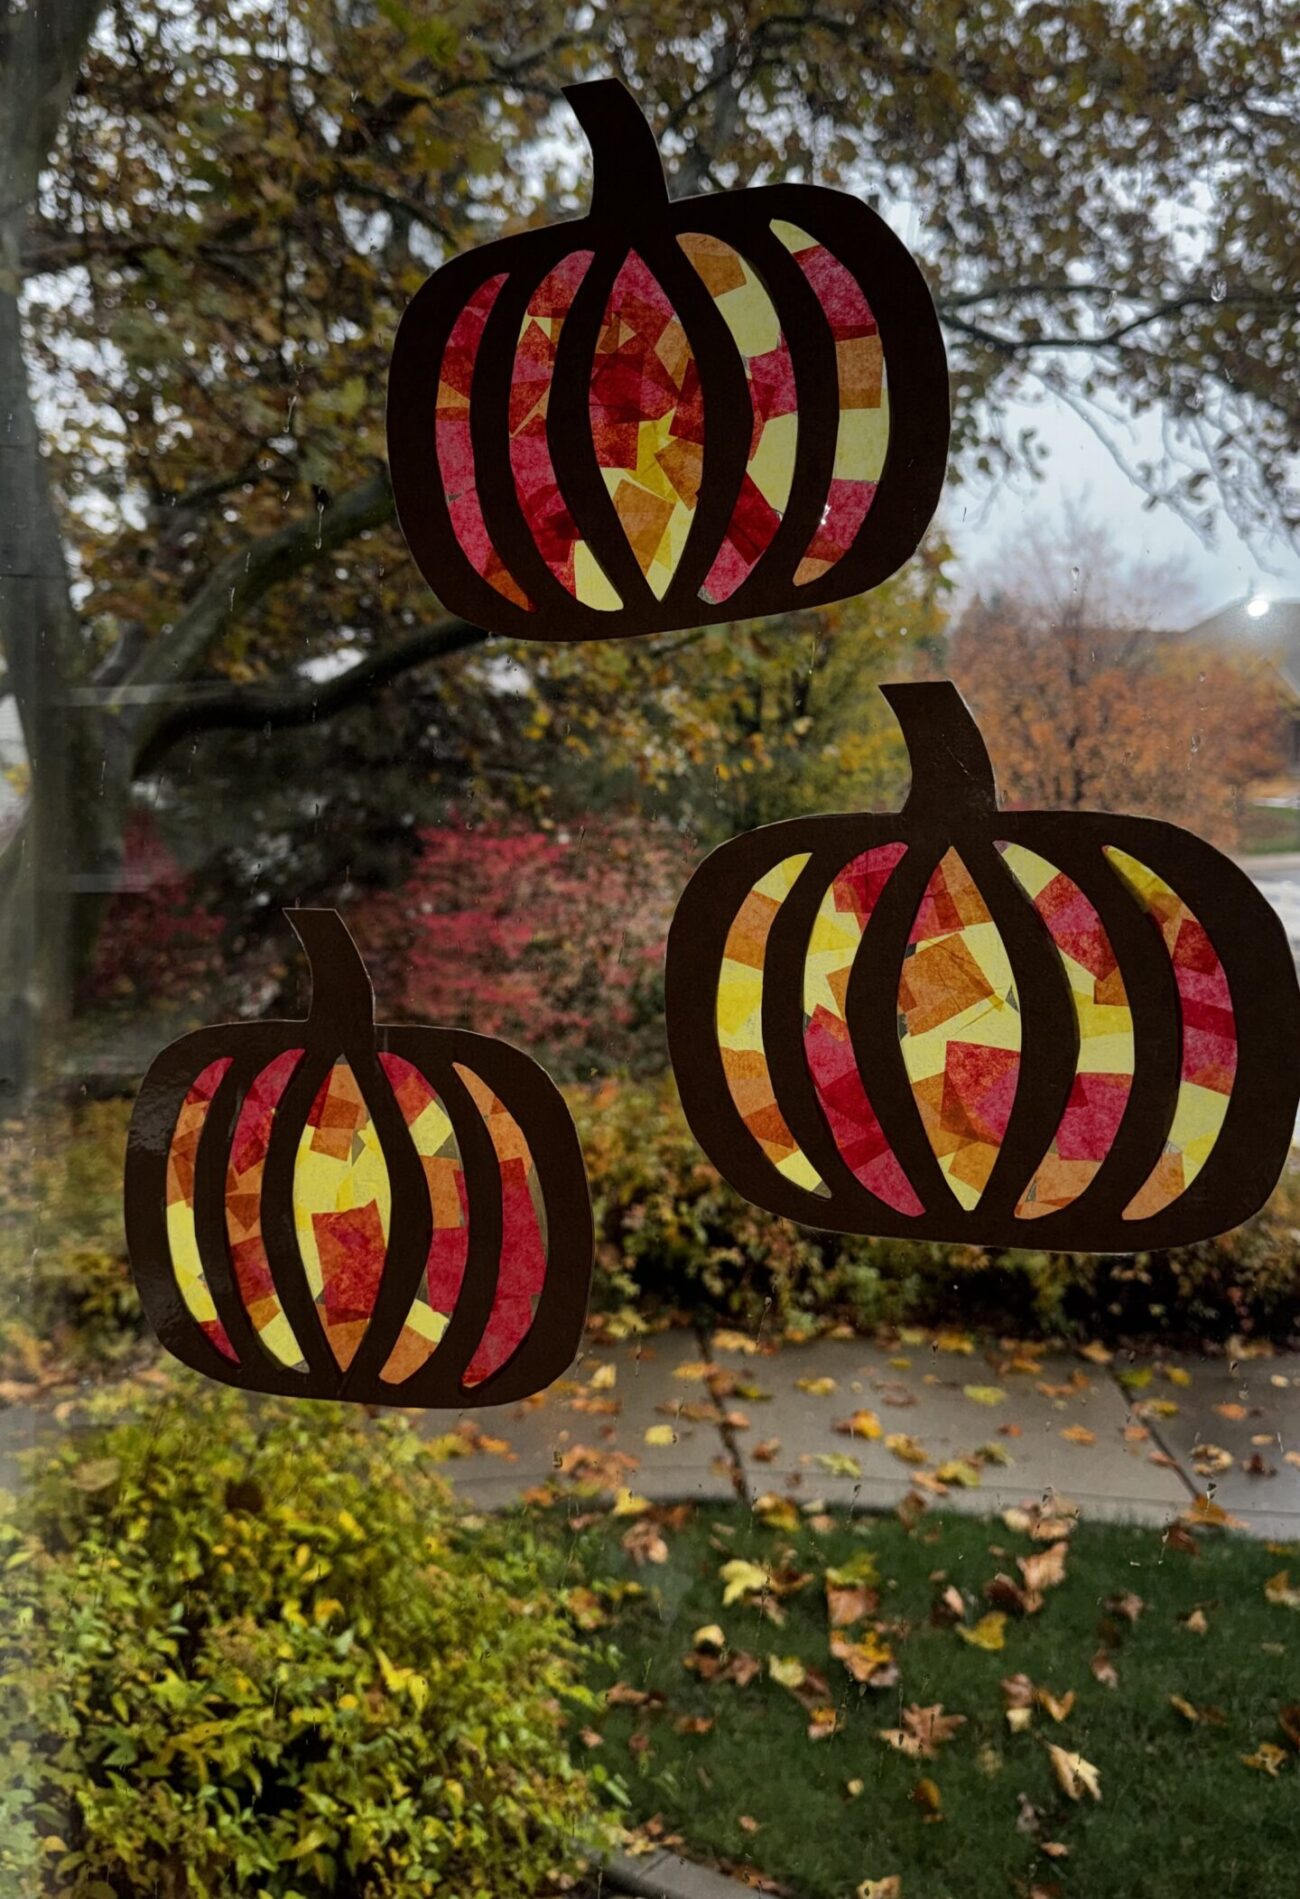
A Fun Fall Craft for Everyone
Bring a little fall color into your home with this fun and easy Stained Glass Tissue Paper Pumpkin Craft! Using just a few simple supplies, you can create beautiful fall pumpkins filled with colorful pieces of tissue paper.
It’s inexpensive, easy to put together, and uses supplies you may already have at home.
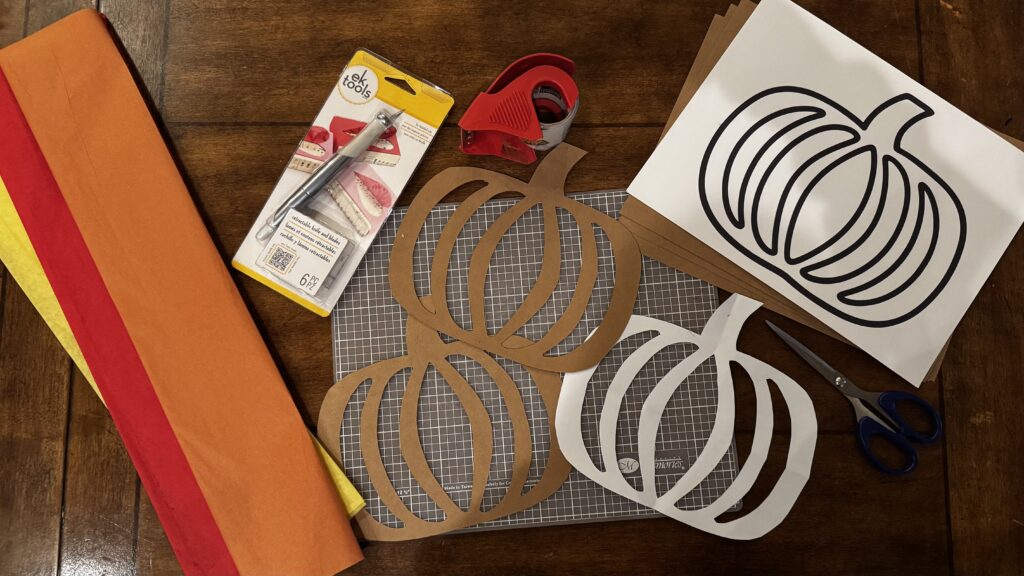
Supplies You’ll Need
- Brown cardstock or lightweight cardboard
- Red, orange, and yellow tissue paper
- Scissors & craft knife/blade
- Packing tape
- Pumpkin template (or draw your own template)
- Pencil
How to Make a Stained Glass Pumpkin
STEP 1
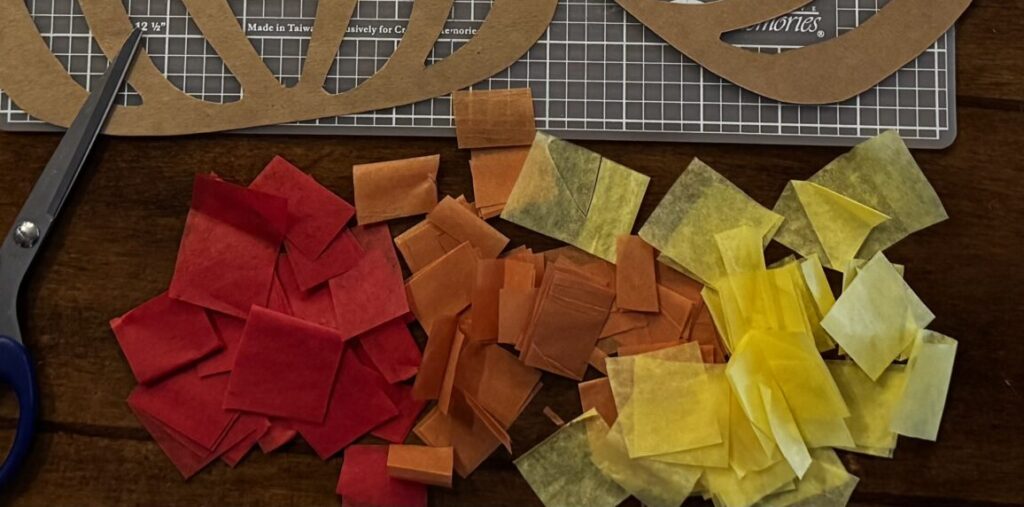
Gather your materials and cut tissue paper into small squares.
STEP 2
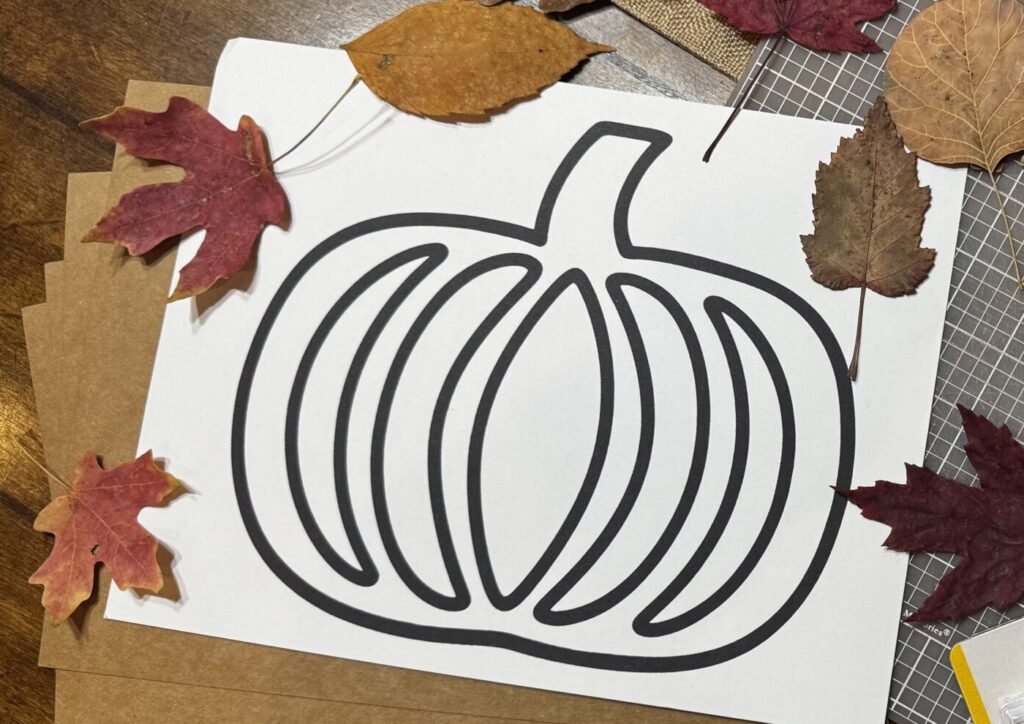
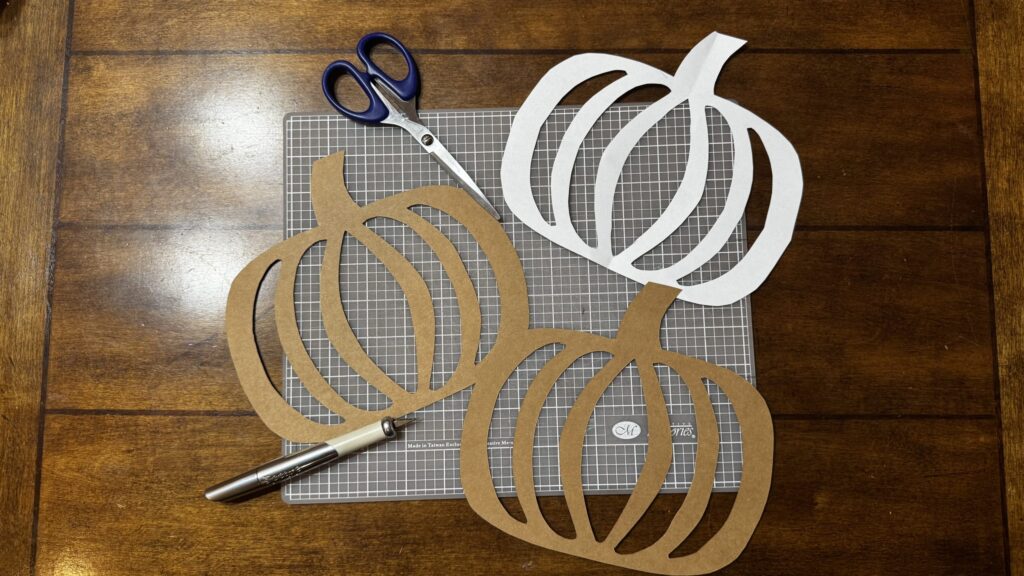
Draw or print two Pumpkin Templates onto brown cardstock or color of your choice. You can also print one template onto white cardstock to use for tracing onto the brown cardstock for less printing.
STEP 3
Carefully cut out the curved sections inside the pumpkin to create openings. I used a craft knife/blade for the inside pieces. These openings will become the colorful sections of your stained-glass pumpkin.
STEP 4
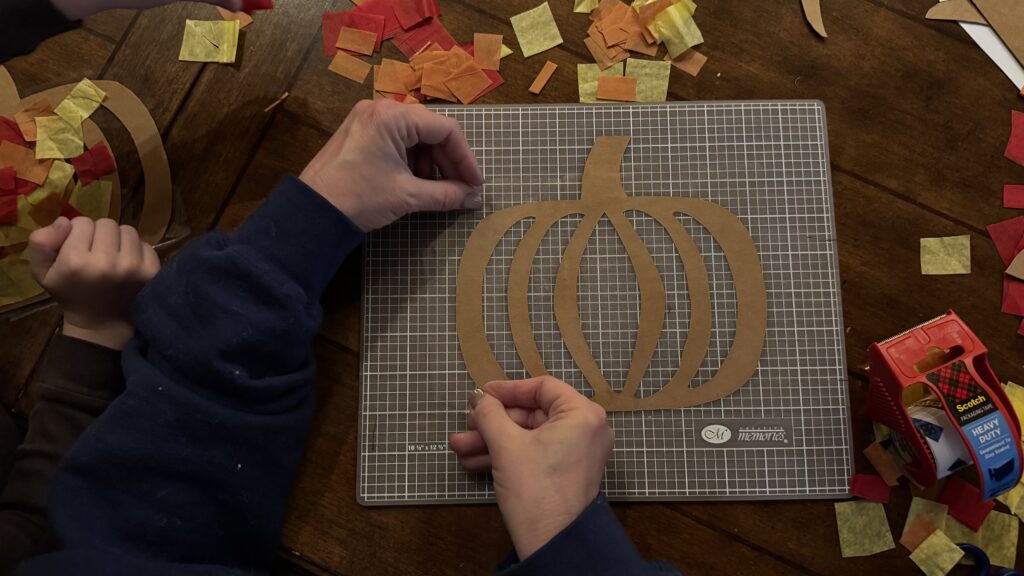
Lay one of the cut-outs right side up and layer it with packing tape, overlapping each piece a little for full coverage.
STEP 5
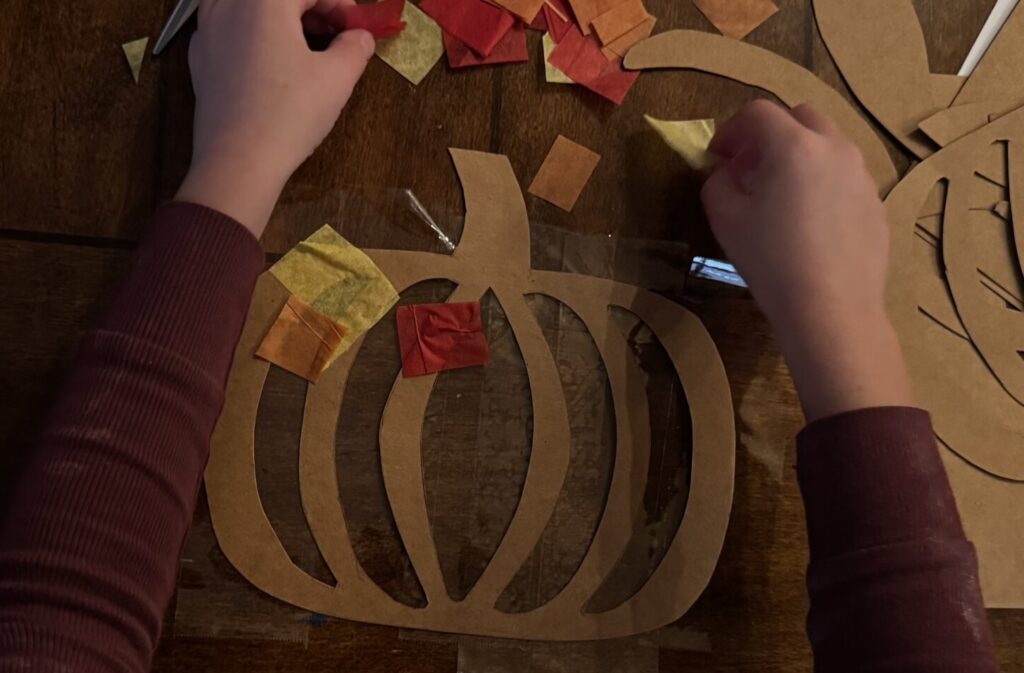
Turn your pumpkin over so you’re working on the back with the tape exposed.
Begin adding the small tissue paper pieces over the openings. Mix your red, orange, and yellow pieces together, overlapping them slightly as you go. Continue until all the openings are filled with colorful tissue paper. You’ll only need one layer to allow as much light through when it’s done.
STEP 6
Lay the second pumpkin cut-out on top and cover with packing tape, overlapping to cover the pumpkin. Cut off the excess tape around the edges.
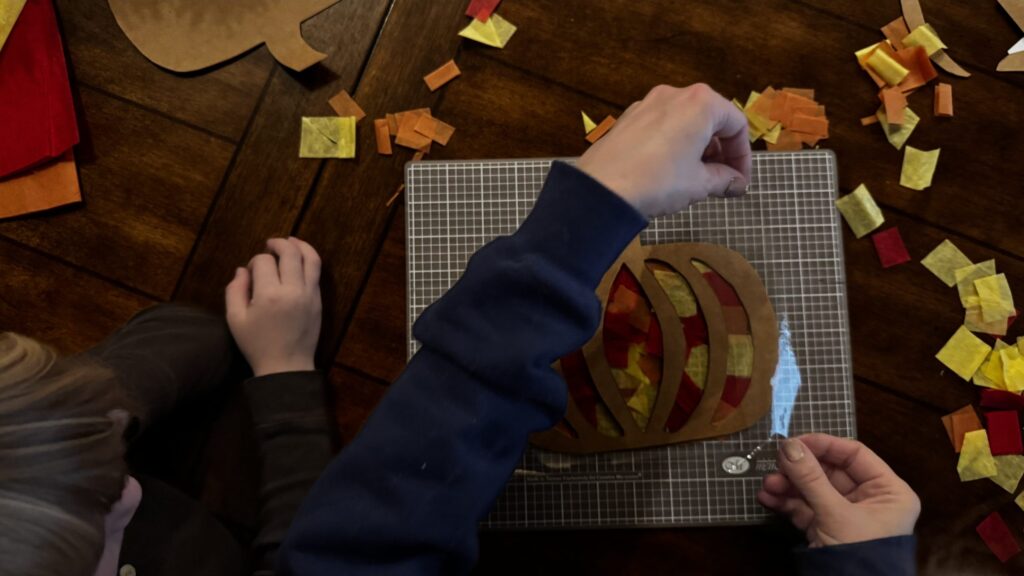
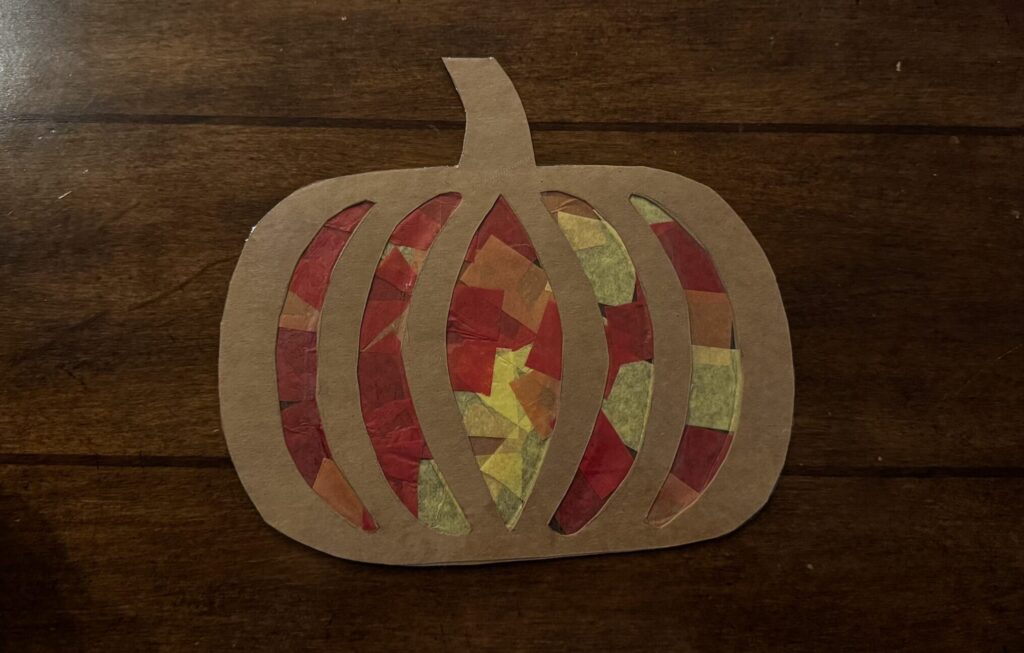
Your beautiful stained-glass pumpkin is finished!
STEP 7
Hold it up to a window and let the light shine through the colorful tissue paper. You’ll love how the colors glow!
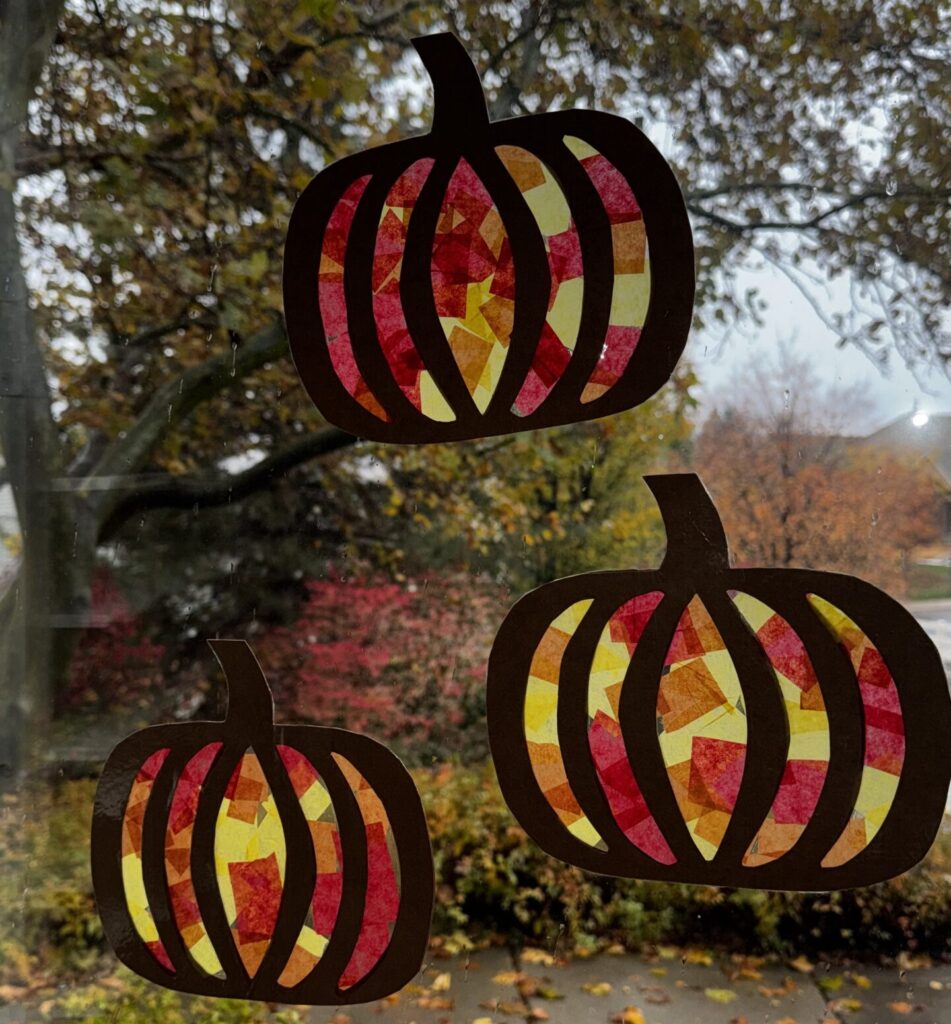
You can hang it in the window, put on the fridge or add to your fall décor anywhere!
Tips to remember:
- Use fall colors: Red, orange, yellow, and even a little green make beautiful pumpkins.
- Overlap the tissue paper: This helps cover all the openings and creates pretty layers of color.
- Don’t worry about perfection: The different shapes and sizes of tissue paper give each pumpkin its own personality.
- Use cardstock: It holds its shape better than regular printer paper.
- Make several: Try different color combinations and sizes to create a whole pumpkin patch!
I hope you enjoy making these as much as we did!
