DIY Valentine’s Day Cards: A Journey Back to Childhood
DIY Valentine’s Day cards! Yes, please! Valentine’s Day has always been one of my favorite holidays! There’s just something so magical about the pinks, reds, whites, and purples in shapes of hearts, cupids, and love-filled decorations. I’ve been a romantic from the start and I’m pretty sure it all started in grade school. That’s when my love for this holiday truly took shape.
I can still remember the excitement of decorating our Valentine’s bags or boxes throughout the week leading up to the big day. It was the highlight of the whole week! Besides cutting as many hearts as possible for my bag or box, my favorite touch was always making paper springs and gluing to the back of the hearts. It made them leap right off the bag—still my go-to craft when creating Valentine’s Day cards! Once they were ready, we’d hang them on the chalkboard rim or line them up on our desks, eagerly waiting for the big moment.
And then came the big day—everyone lining up to drop their cards into each other’s bags.
And the next step? Heading home to make your Valentine cards or if you weren’t feeling like DIY cards, buying the coolest ones from the store, often featuring your favorite cartoon characters. And if you were lucky, there’d be a sweet treat or sticker to include with your card!
Next came the all-important task of signing each card. Picking out the special ones for your best friends and the “Be My Valentine” one for your “crush of the week” (who probably had no idea). And then came the big day—everyone lining up to drop their cards into each other’s bags. The excitement was contagious, especially when that special card from “you-know-who” was dropped in your box. It was always the one you hoped said, “Be My Valentine!” Even though almost every card had those endearing words, it was just always a little extra thrilling when it came from someone you had your eye on.
It reminded me that no matter how old you are…
This Valentine’s, I decided to create vintage-inspired cards for my family. The classic, nostalgic designs immediately took me back to those childhood moments. Making my DIY Valentine’s cards reminded me that no matter how old you are, getting a Valentine still feels just as exciting as it did back then.
I hope you enjoy making these cards as much as I did! And as you do, I hope it brings back memories of your very first Valentine’s cards—those little tokens of love that never seem to lose their magic.
Happy Valentine’s Day!
Materials Needed:
Paper
• 12×12 Patterned Cardstock
• 8.5×11 Colored Cardstock – Cream, Red, Pink, White & Black
• 8.5×11 Colored or patterned printer paper
Templates & Graphics:
• Heart Card Template
• “Happy Valentine’s Day” & “Love You” Hearts Template
Graphics:
• 3×4” Vintage Valentine graphic/picture (creativefabrica.com)
Craft Supplies:
• Glitter Foam Stickers
• Heart Doilies
• 3/8” Ribbon (2 lengths of 12”)
• Small White String (6” length)
• Photo Mounting Stickers
• Red Brads
Tools:
• Pencil
• White & Black pens
• Small hole punch
• Regular Scissors
• Scallop Scissors
• Glue Stick
Instructions
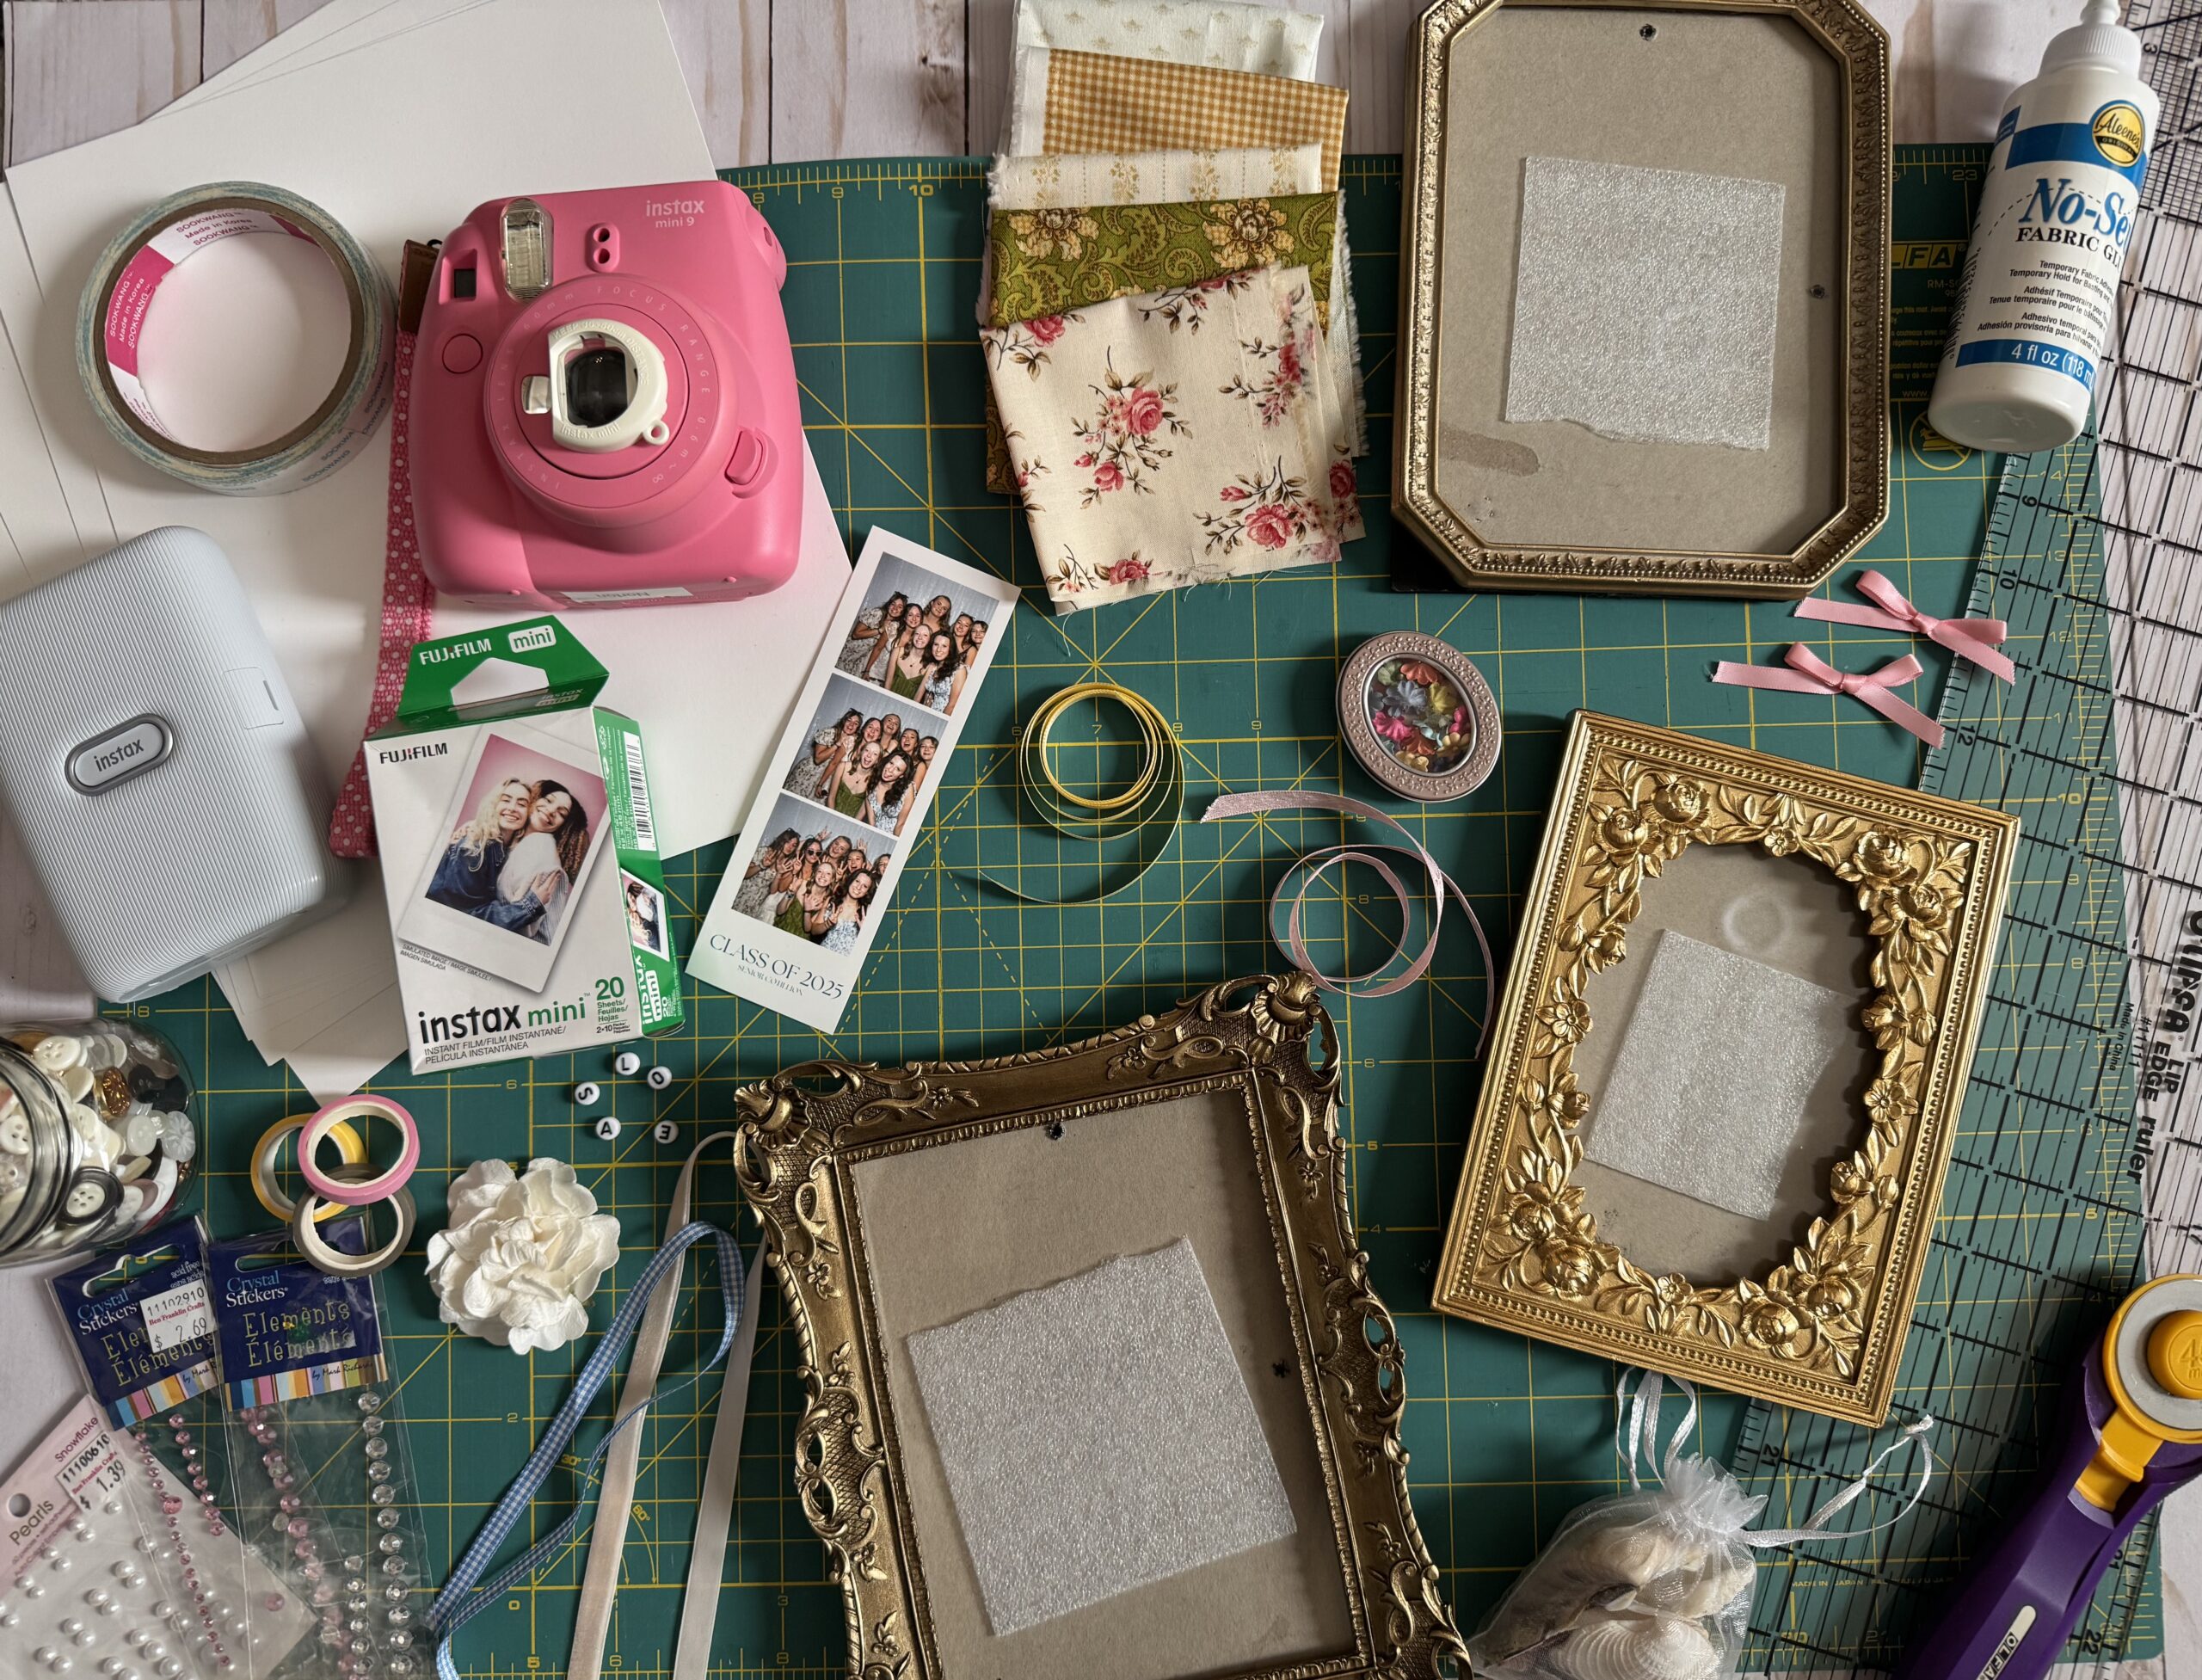
Step 1 – Gather your tools and supplies

Step 2 – Pick a 12×12 patterned cardstock with lots of color and design. Trace the Heart Card Template and cut it out.

Step 3 – Choose your Valentine graphic. I used Creative Fabrica.com. Print the Valentine graphics on white cardstock or any color that feels right for your design.

Step 4 – Use scallop scissors to cut the cardstock paper of your choice, I chose cream. Mount it behind the picture. Add a small glitter heart for extra sparkle!
Step 5 – Create a tag with black and white cardstock and punch a hole on the side.

Step 6 – Attach the ribbon to each side on the outside of the card template and glue the red doilies on both the front and back. Cut a slit in the front and back of the doilies and pull the ribbon through. This will allow the ribbon to tie easier.

Step 7 – Print the Template for the “Happy Valentine’s Day” and “Love You” hearts and cut them out. Choose a corresponding cardstock color to glue or mount on the back of the hearts. Then cut a scallop edge around them.

Step 8 – Cut 6 colored paper strips (½” wide, 6” long) and accordion fold them to create paper springs, gluing the top and bottom to secure.

Step 9 – Glue the “Happy Valentine’s Day” and “Love You” hearts, plus any glitter hearts to the paper springs and glue them inside the card. Don’t forget to sign it!

Step 10 – Punch a ½” hole on the front of the card just below where the ribbon starts and just inside the doily scallop. Thread the small white string through your black-and-white tag and also through the card. Tie inside the card and add a red brad to secure it. Then write your Valentine’s name on the tag with the white pen.

Step 11 – Tie the card closed and deliver your handmade vintage Valentine to your special someone!

Additional Tips:
Supplies: You can use different scissor styles, glue and mounting stickers. Choose ones that work best for you or that you have already. For the ribbon, I used pink 3/8” but any size or color would be great. You could even add more than one ribbon for more texture.
Templates: For the main card, print the one I provided, or you can create your own depending on the size of card you make or the size of your doilies. For the hearts inside the card, you can also use my template or create your own. A creative place to make templates is at Canva.com.
Valentine Cards Graphics/Pictures: Another fun idea would be to repurpose old Valentine cards or buy the cute ones in the boxes at the store.
Sending Valentine wishes that you receive back a special Valentine too!!
Happy Crafting!